Tuesday, 3 December 2013

Bradford (part one)

It was with a certain amount of trepidation that I returned to my home town of Bradford with a bunch of friends from Cambridge Camera Club, ostensibly on a visit to the National Media Museum.


The photographic content of the museum is pretty minimal nowadays, so it wasn't long before we decided to go for a walk in order to sample the "delights" which the city has to offer.


So far so good.  The awful Provident Building Society tower block has now, thankfully, been demolished, along with the Police Headquarters.  In their place is a very large "water feature" in front of the Town Hall and the Law Courts.  I still think I prefer the wonderful Victorian buildings (such as the old Mechanics Institute) which I remember from my childhood, but that's probably just a sign of advancing years.


There was a new building adjacent to the Law Courts whose windows were actually quite attractive.  That was until we looked closer and noticed that everything was boarded up inside.


Some dodgy specimens of Homo photographicus I discovered on my travels.


Would you buy a used camera from these people?  Well I did from one of them, as a matter of fact, and didn't seem to come to too much harm!  The person behind Barry seems to have got his number, though...


Given its size, City Park is actually rather difficult to show in its entirety.  I attempted a panorama, but the dull and boring light simply made it look dull and boring.  A "little planet" seems to capture the place, though.


Look out for the next exciting installment when I reveal the answer to the age-old question:
  • What's the difference between Bradford and a large hole in the ground?  
Tune in soon to find out more...

Saturday, 26 October 2013

It's that Lighthouse again...

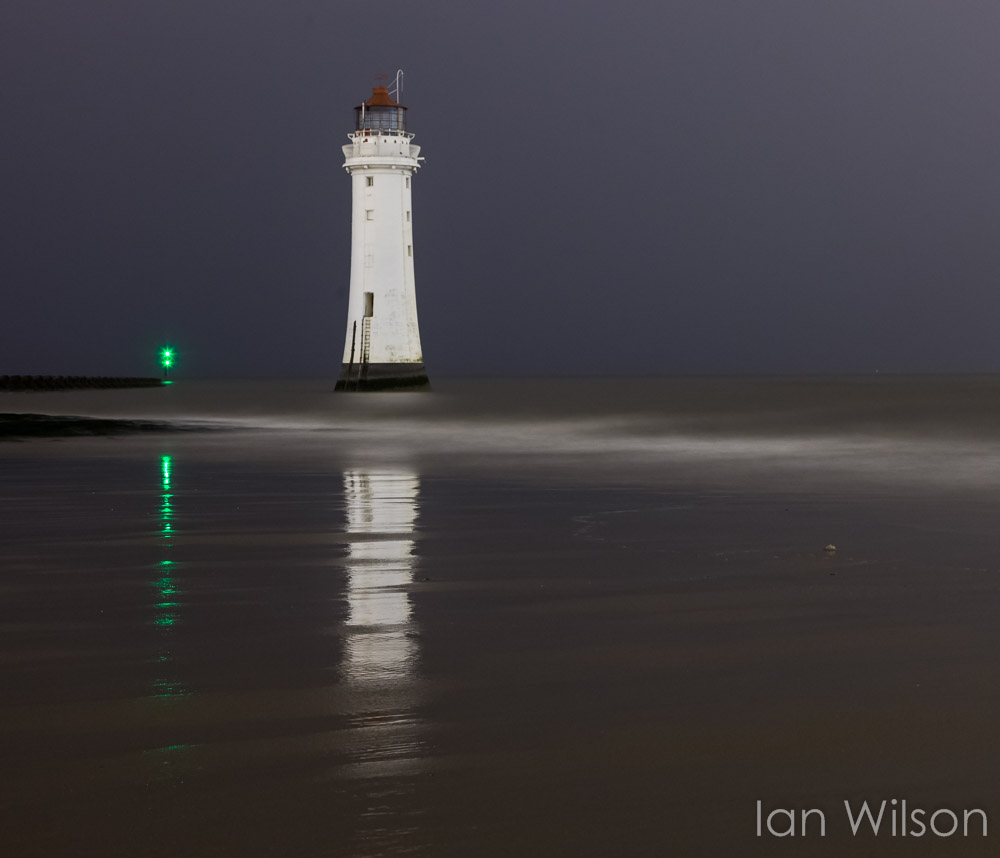
After a day stuck inside a converted indoor running track at the PAGB Print Championships, knowing that the weather outside was rather pleasant, it was frustrating to be turfed out at 5pm when the rain was just starting.  After returning to New Brighton from Connah's Quay, the rain had virtually stopped so we ventured out onto the beach to photograph the lighthouse.  By this time it was almost dark, and - to be fair - we must have had almost half an hour without any water falling from the sky.  In that time I managed to take about half a dozen pictures of the lighthouse, only two of which were sharp.


There's less than 15 minutes between the two pictures, but the difference in colour balance is quite astonishing.

Oh - and thank you for asking - Cambridge Camera Club managed to reach the Championship final, and ended up 8th out of 38.  Not bad for a "normal" club...

Friday, 25 October 2013

New Brighton Rocks?

I am currently staying in New Brighton (The Wirral) as tomorrow sees the PAGB Print Championships at Connah's Quay where Cambridge Camera Club are competing.  Being on a photographic outing, we decided to brave the weather and do some night shots along the promenade.  All I can say is that my new super-duper Storm Jacket "professional" camera cover - a recent birthday present - was well and truly inaugurated, as the rain decided to dampen our endeavours.  In fact, the camera stayed significantly drier than I did!  Anyhow, here are a few of the pictures I managed to take before we all decided that enough was enough and headed for a bite to eat.


The rather shady looking characters in the shot below were fellow members of CCC who were not in possession of the aforementioned "Storm Jacket pro..." (or simply had more sense).


Thursday, 24 October 2013

Pictures at an Exhibition

Next week sees Cambridge Camera Club's annual exhibition at The Guildhall.  The exhibition is open from 1:00 to 5:00 on Monday (October 28th), and 10:00 to 5:00 on Tuesday through to Saturday (October 29th to November 2nd).  I'll be there all day Saturday if anyone fancies dropping by for a chat and a chance to see some absolutely stunning images.

This year, for the first time, two of my pictures were chosen to grace the exhibition posters.  The first is a shot taken inside the Cloisters at Gloucester Cathedral.


The second was a portrait of an Icelandic Horse, taken during our visit there earlier this year.  This is one of the very few pictures I've actually got around to processing from the trip, but I hope to be able to do some more very soon.


[Note:  I have struggled to upload the horse picture without it being mangled by Blogger and made much darker.  A little bit of research led me to suspect a setting in my Google+ account: "automatic image enhancement", which is enabled by default.  Enhancement my foot - why can't these stupid programs just leave things as they are?  The image is now correct, I believe, until the powers-that-be at Google decide to make another unilateral "improvement".]

This is how the pictures look on the posters themselves.  Let's hope they help to attract lots of visitors to what promises to be an excellent exhibition.


For all fellow Yorkshiremen out there, I should have mentioned that the exhibition is FREE and that refreshments will be available!

Friday, 18 October 2013

A Misty Day in Cromer

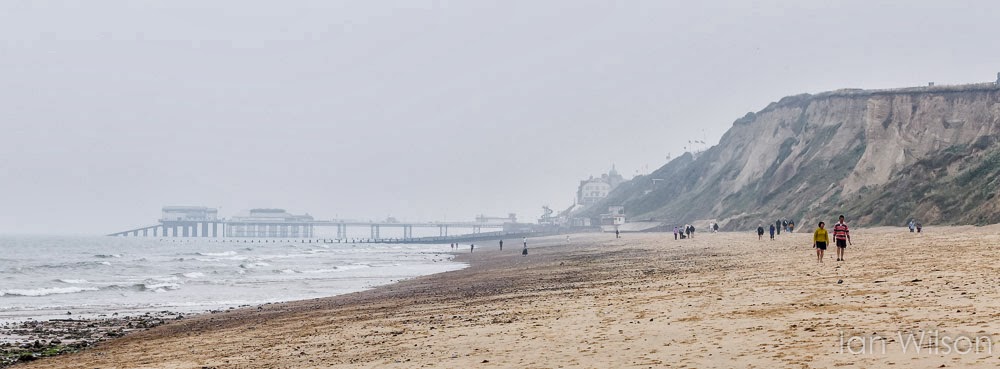
At the end of August we had a weekend away in Cromer.  The first day was very misty, but that didn't stop a few hardy souls getting onto the beach.


Amber, of course, didn't give a flying whatsit about the weather, so long as someone was prepared to throw a frisbee for her.


As the light levels dropped, the queues at the various Fish & Chip emporia grew gradually longer.


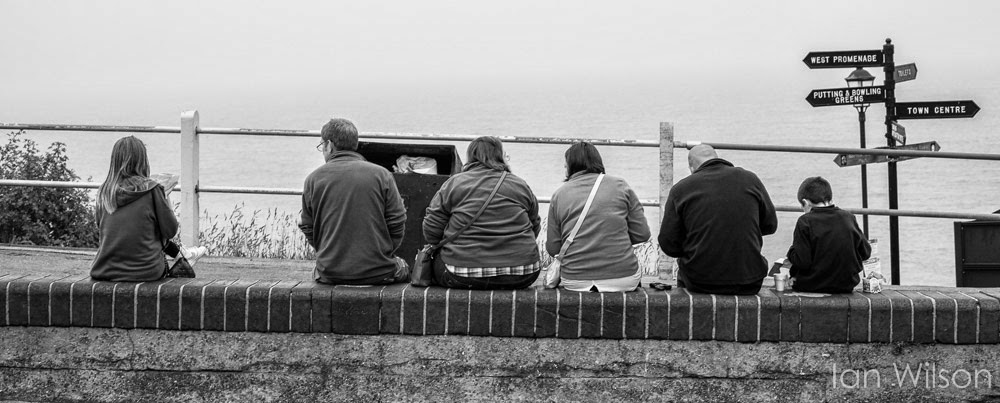
We headed to our favourite watering hole, the Red Lion hotel above the pier, and this picture was taken just outside.


An excellent dinner later, the mist had fallen again.


Wednesday, 16 October 2013

Copying a Water Colour Painting

Several years ago, a friend of mine asked me whether it was possible to copy her water colour paintings so they could be sold as prints.  I've done this on half a dozen occasions now, and I took some pictures of the process last month to show what is involved.

Stage 1 involves taping the painting to a large piece of mount board in order to keep it flat.  Water colour paper buckles quite badly, and this painting (larger than A3+ in size) was probably the worst I've had to deal with in this respect.


Stage 2 involves positioning the painting upright in a location where it can be photographed.  In this case, because the painting was so large, it's propped up on the back of our sofa.


Stage 3 is setting up the equipment.  There is a camera on a tripod with two matched flashguns at 45 degrees to the painting being copied.  The positioning of the flashguns is fine-tuned using a hand-held flash meter in order to guarantee that the lighting across the painting is absolutely consistent.


In this case, the painting was photographed using an 85mm prime lens, but for smaller paintings I would normally use a 100mm macro.  Both lenses are extremely sharp and - importantly - show very small amounts of spherical distortion.  The close-up shows the camera being aligned with the painting using Live View, and with the flash remote control unit on top.  There's also a remote cable release plugged in, and this - combined with Live View's inherent Mirror Lock - results in absolutely zero camera shake.


Stage 4 is measuring the exposure using a hand-held flash meter and taking a reference image using a Colour Checker Passport.  Not only does this allow the white balance to be set accurately, but also allows me to make a custom camera profile which compensates for any oddities in the lighting conditions.


Stage 5 is importing the photographed painting into the computer and matching the photograph to the original.  The painting is illuminated by two daylight-balanced lamps, and positioned at 90 degrees to a fully calibrated computer screen for reference.  With correct exposure, white balance and a custom colour profile, the resulting image is usually pretty close to the finished article.  There are always areas which need to be cloned, either to remove fingerprints or marks on the painting's surface, or - on one occasion - actually "finishing" a painting which wasn't quite ready!  Usually there are also issues related to an off-white paper colour which need to be dealt with, plus slight variations in colour rendition.  This is the most time-consuming stage, as all the changes need to be done by eye using experience gained many years ago working in a colour darkroom.


Stage 6 is the making of small proof prints, which are then compared under daylight conditions to the original.  Again, small tweaks are inevitable - usually to compensate for the colour of the paper on which the print is being made.  In this case, three proof prints were enough to get everything "close enough for Government work".


Stage 7 is to make the final prints, which can now be done at any size from A2 downwards on my Epson 3880.  I use Permajet's "Papyrus" for this process, as it is the closest I've found to the original water colour paper, and always gives exceptional results.  It's expensive, but worth every penny.

Monday, 14 October 2013

Barbara Cartland, eat your heart out...

A chance posting on this blog last August, following a visit to Tyntesfield in Somerset, resulted in me being contacted by Random House - a book publisher based in the States.  The Art Director was looking for an image which could be used as the background on a book cover, and one of my pictures seemed to fit the bill.  Following negotiations between Random House and The National Trust (who demanded a large royalty, simply for owning the property being photographed) a deal was eventually struck.

True to their word, the publishers recently furnished me with a copy of the final book.  Reading the blurb on the back, it's clear that the story is some kind of Edwardian bodice-ripper, unashamedly cashing in on the current popularity of Downton Abbey.  I don't mind - it's just nice to see one of my pictures in print.


I had a quick look through the book, but failed to find any bodices - ripped or otherwise.